Tips & tricks on how to solder with high quality
Beke Nieszytka | 30. September 2020
Soldering is a thermal process in which a non-detachable connection between materials is created using a solder. The solder consists of tin as well as other metals such as copper or silver and is an easily fusible metal alloy that serves as a connecting material between the materials.
What are the available soldering methods?
Soldering methods are divided to different aspects according to DIN 8505. Soft soldering is brazing with solders whose liquidus temperature is below 450°C. Hard soldering is brazing with solders whose liquidus temperature is above 450°C. The following soldering methods exist:
- Flame soldering
- Furnace brazing
- Electrical resistance soldering
- Induction soldering
- Reflow soldering
- Laser soldering
- Hand soldering
Soldering with a soldering iron
In this article we concentrate on soldering with a soldering iron (=hand soldering) and give you tips on how to make high-quality soldered joints yourself.
Screw, crimp and solder connections are suitable for creating electrical connections. In practice, e.g. during repair work, one does not always have the exact fitting crimping pliers for every crimp contact at hand, or the materials to be processed allow only one solder connection.
Soldering connection technology can be used flexibly. Solder joints are usually preferred when it is necessary to ensure constant electrical conductivity over a long period of time or the connection point has to be permanently sealed.
At first sight the process of soldering looks simple, but on closer inspection it is a complicated process that needs to be mastered. The freely manually tin-plated contact is very much dependent on the person carrying out the work as well as on the temperature, the solder used and the size of the components to be connected and is subject to certain fluctuations. Correct soldering must therefore be learned. If you observe a few criteria and with a little practice, soldering is no problem.
In the following article we will show you how to avoid common soldering errors and what you should absolutely pay attention to during the soldering process.
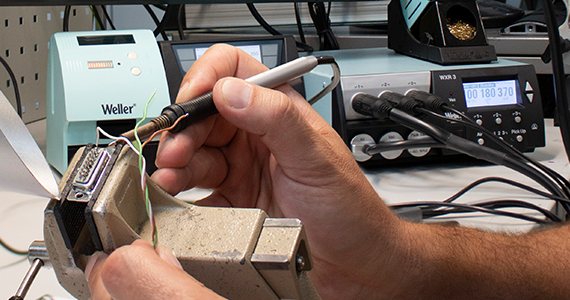
Common soldering errors
1 Too low temperature at the soldering iron
The solder does not enter the flow phase. The consequence is that the soldered joint has poor or no contact at all.
2 Too high temperature at soldering iron
Too high a temperature or leaving the soldering tip on the soldering point for too long leads to temperature damage. The insulation of the cores may melt or the components to be soldered may themselves be damaged.
3 Premature removal of the soldering tip from the solder joint
The flow phase can take place only partially or not at all. The bonding phase that starts too early results in faulty contacting.
4 Cold solder joint
Applying the solder to the tip of the soldering iron and then transferring the solder blister to the soldered joint does not produce a reasonable result. As the solder joint is cold, the solder cannot form a connection with the component.
5 Movement of the components in the cooling phase
If the components are moved during the cooling phase, the solder breaks at the point where it is still soft. The result is not only cracks in the solder joint, but also poor contact (so-called cold solder joint).
The 3 phases of the soldering process
Before you start soldering, it is essential to know what exactly happens during the soldering process. The soldering process consists of three phases.
Important: only if all three phases are carried out correctly is the soldering process successful and the connection of the joined parts is of high quality, strong and conductive.
Phase 1: Wetting
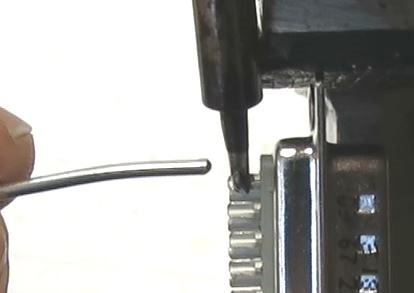
In the first phase, the soldering point is heated with the soldering tip and then solder is added. Make sure that the soldering point is completely wetted with solder.
Phase 2: Flow
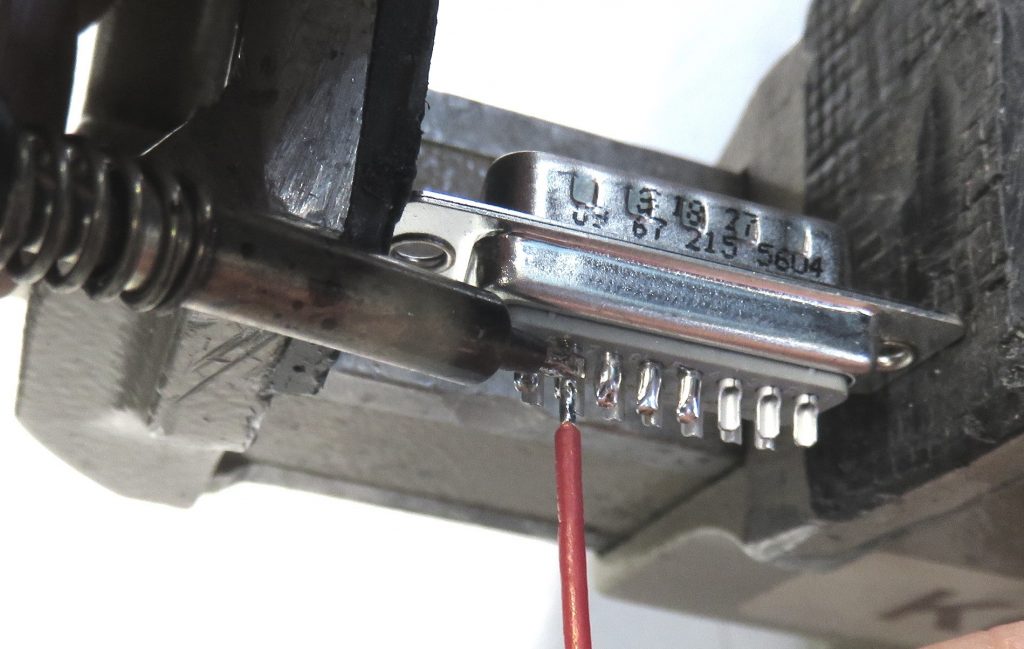
In the second phase, the liquid solder must flow into the spaces between the solder joints. In this way, a large-area connection of the workpieces is created. During this phase the tip of the soldering iron is removed from the solder joint.
Phase 3: Bonding
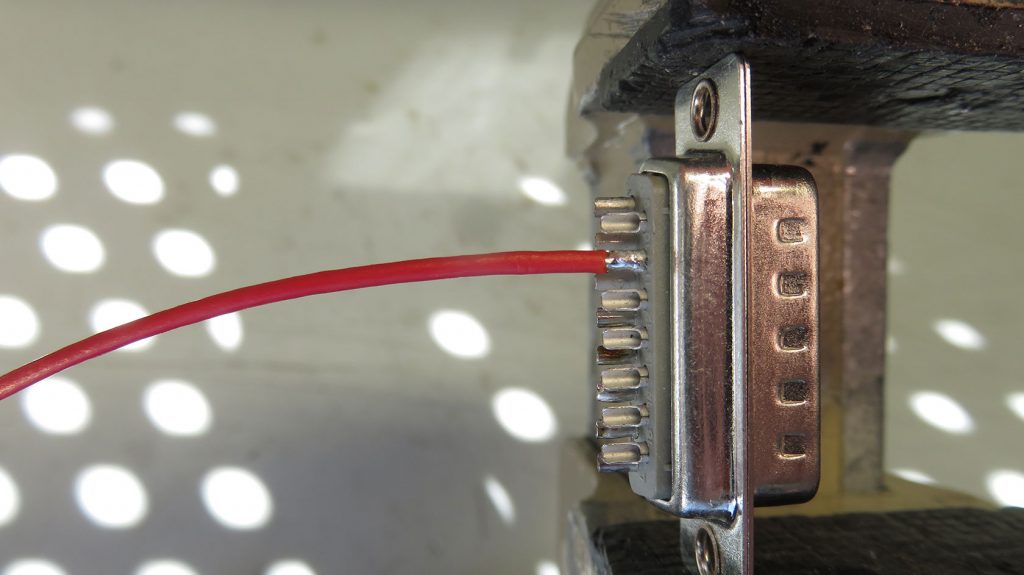
During the bonding process in the third phase, the solder joint cools down and hardens. Under no circumstances should the workpiece be shaken during this phase, as this would lead to cold solder joints. These are described in more detail in the next section.
Practical tip:
the entire soldering process should take 2 to 5 seconds (depending on the size of the solder joint). If the solder still does not enter the flow phase after 5 seconds, the soldering process must be stopped and the correct temperature selected.
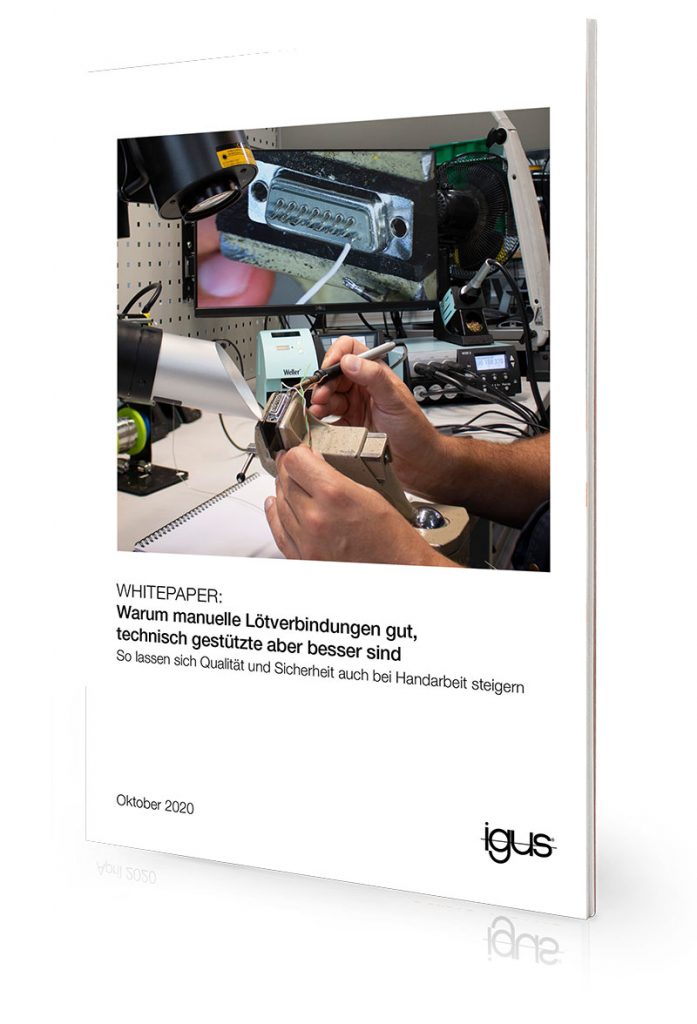
Do not miss our white paper on soldering
You can find out here why manual solder connections are good, but technically supported ones are better.


John Shaw
Thankyou for sharing hand soldering tricks and tips. You really helped me a lot.
Beke Nieszytka
Thank you for your feedback. We are happy to have helped you with your work.